Lessons
Setup a Status Page for Free
A status page is great way to display service uptime, highlight your commitment to keeping your service live, and it provides some transparency between your Engineering team and your customer. It looks cool is another great reason.
I use the Github one all the time, but it’s popular with other SASS services. If the ideal customer is a developer, they probably have a status page. Here are a list of examples:
I found myself wondering, how do I get one for my new product? There are multiple options for services out there and today we are going to talk about BetterStack. I came across BetterStack when I was trying to stream my logs from Render. The onboarding was simple, and I was able to configure a status page without issue. An added bonus was the monitoring and on-call for my service.
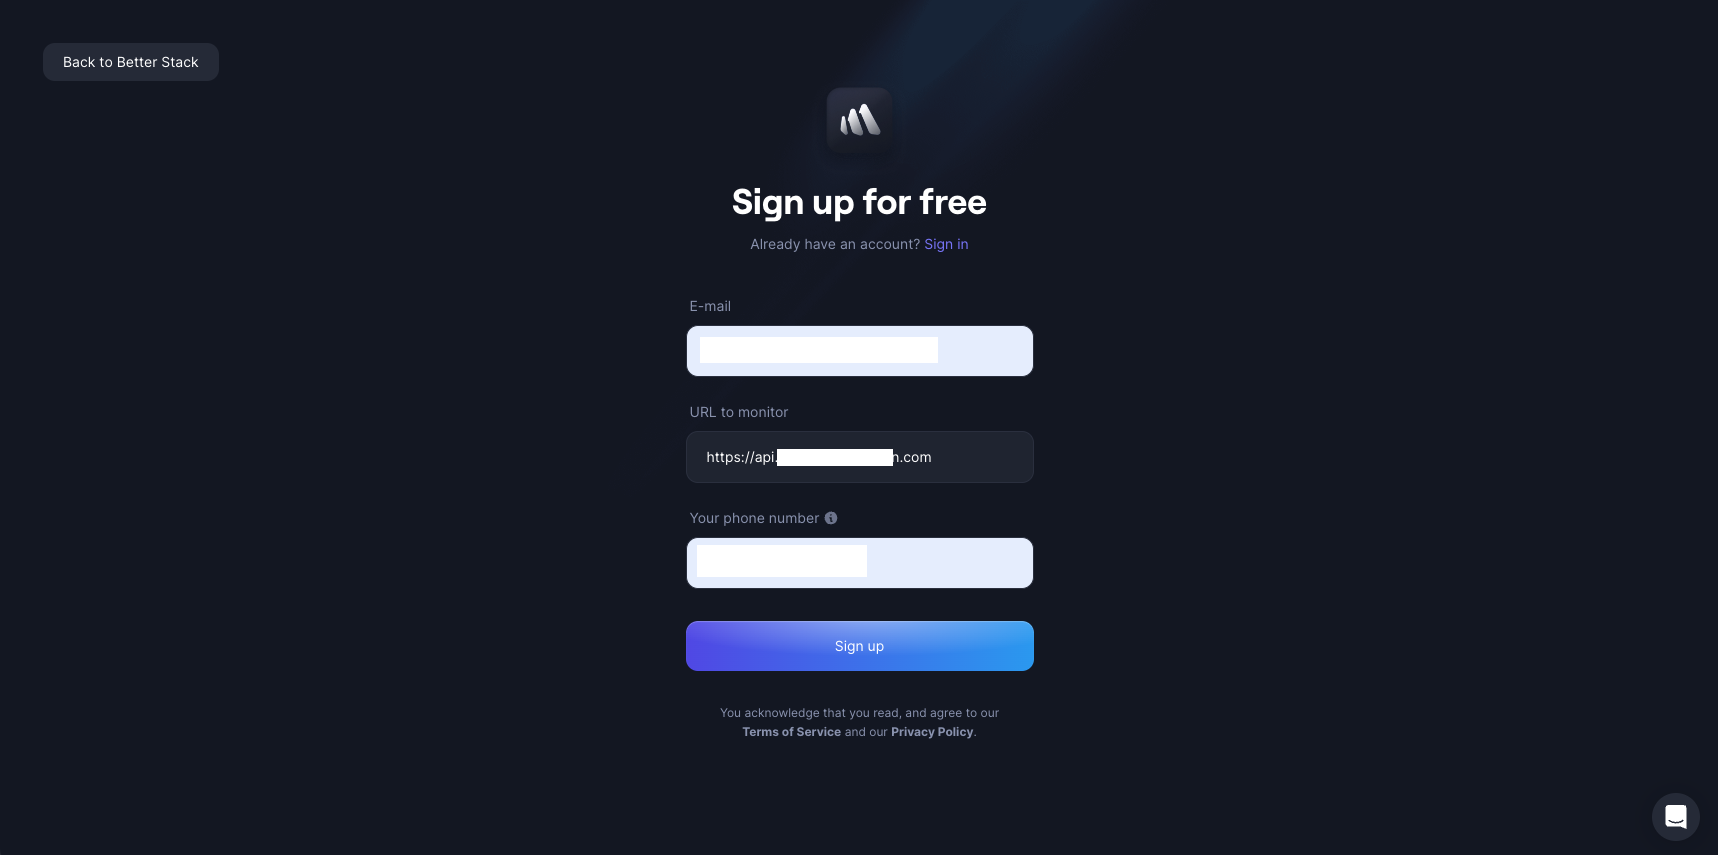
Navigate over to BetterStack, and their sign up. You will enter your email, phone number and the URL you want to monitor. I tend to monitor the API compared to the frontend because that’s where the work actually happens. If the frontend temporarily goes does down, it just means the user can’t access the state.
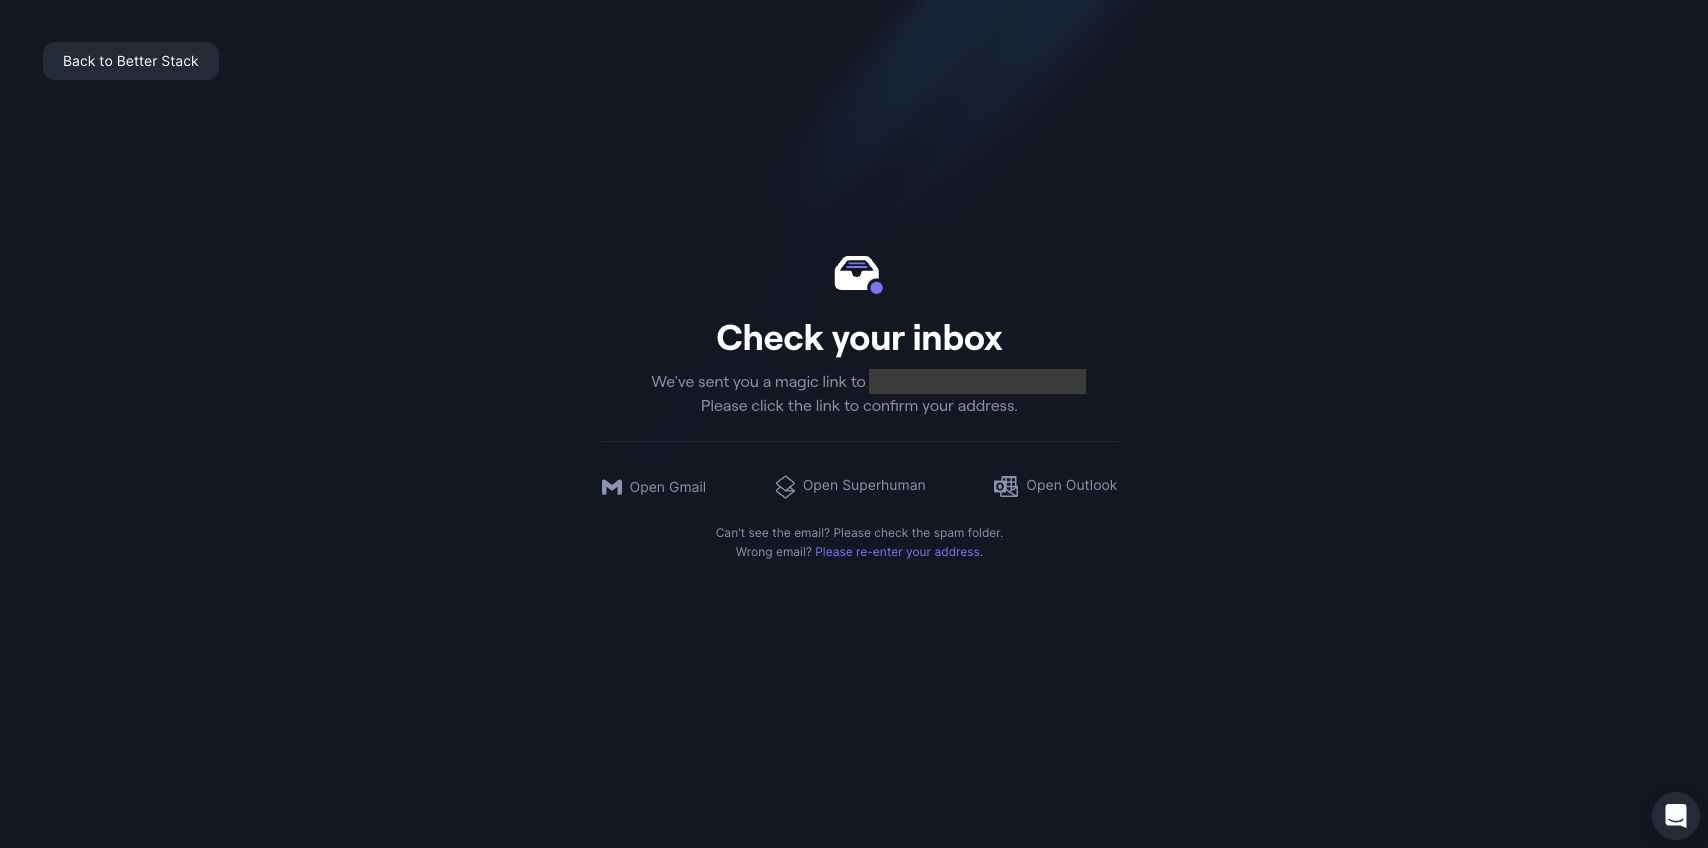
Navigate to your inbox and verify your account. This will begin the remainder of the onboarding process.
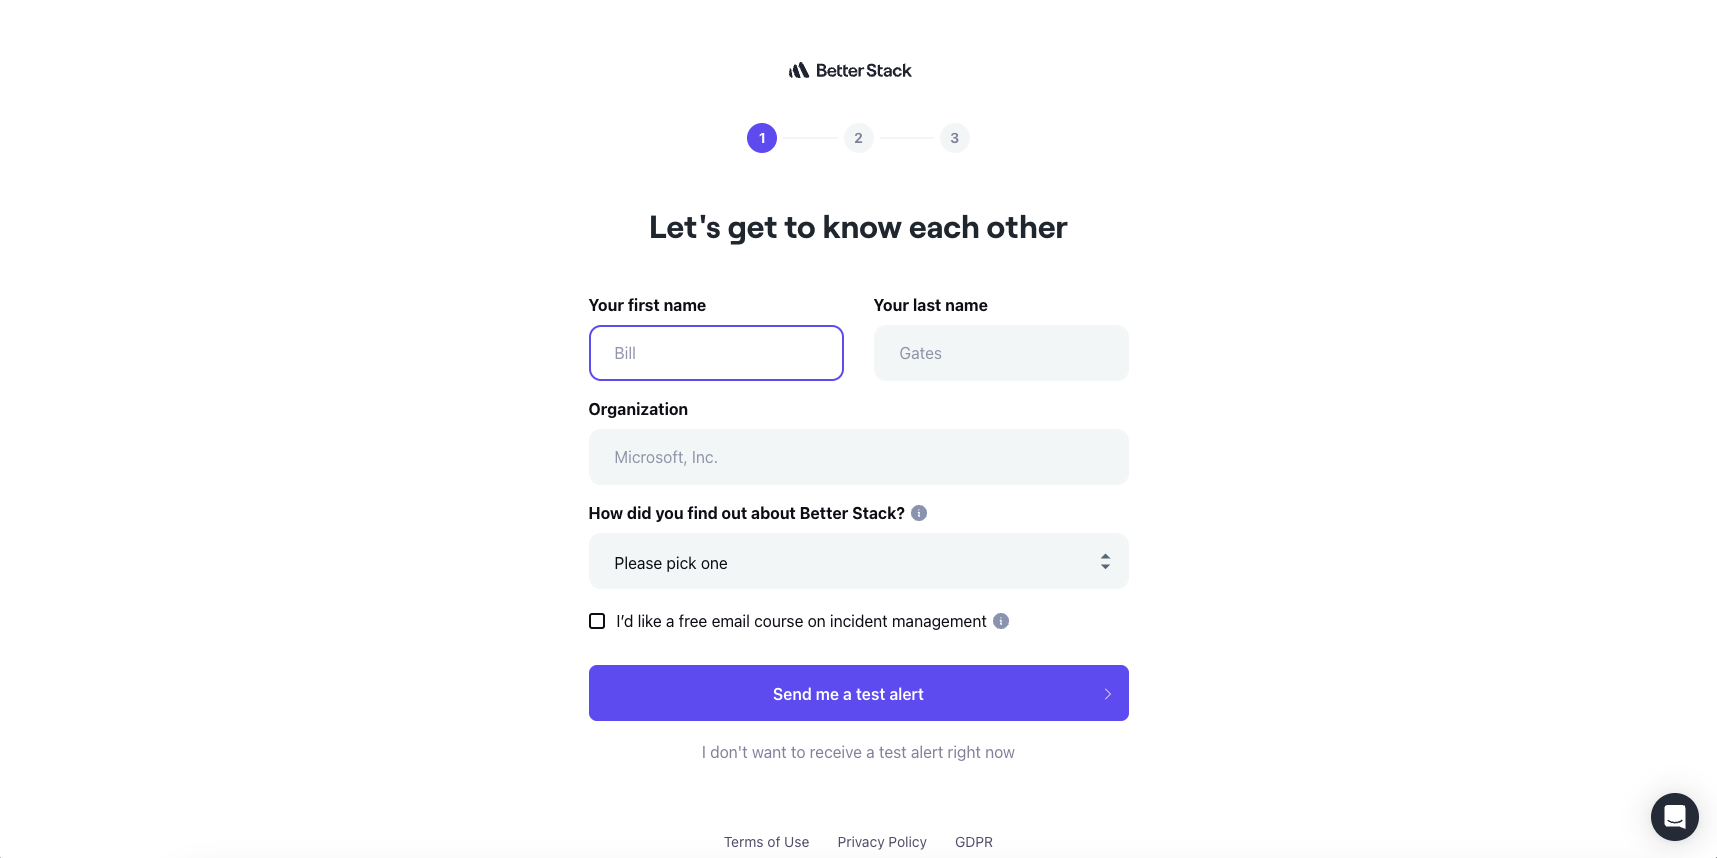
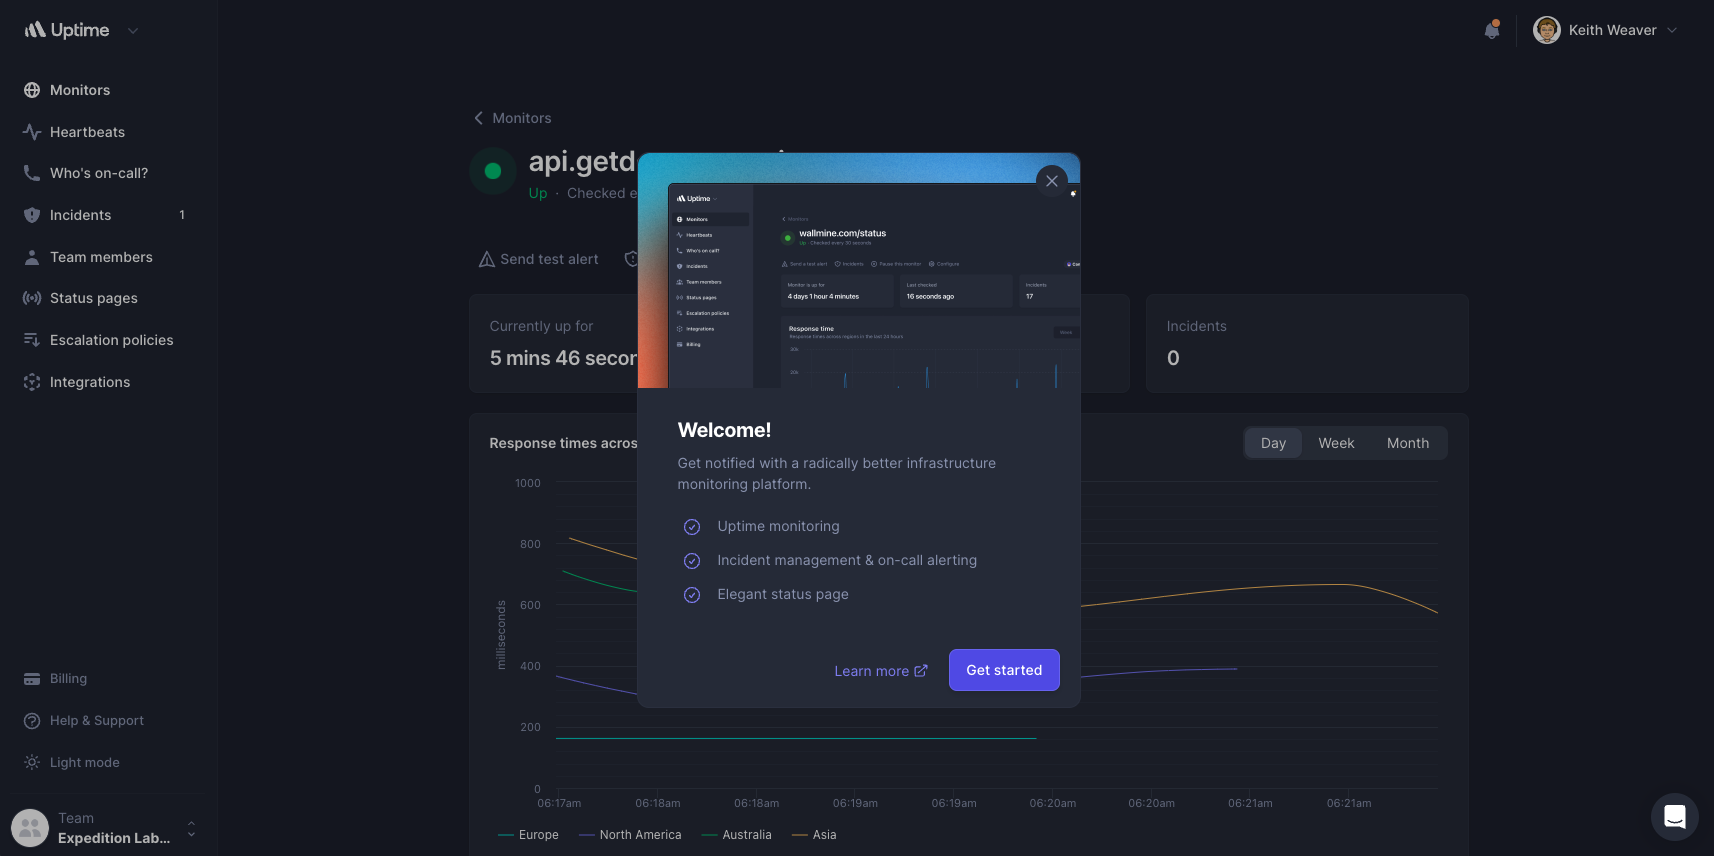
Enter all your information. This will send you a test alert (or you can skip it).
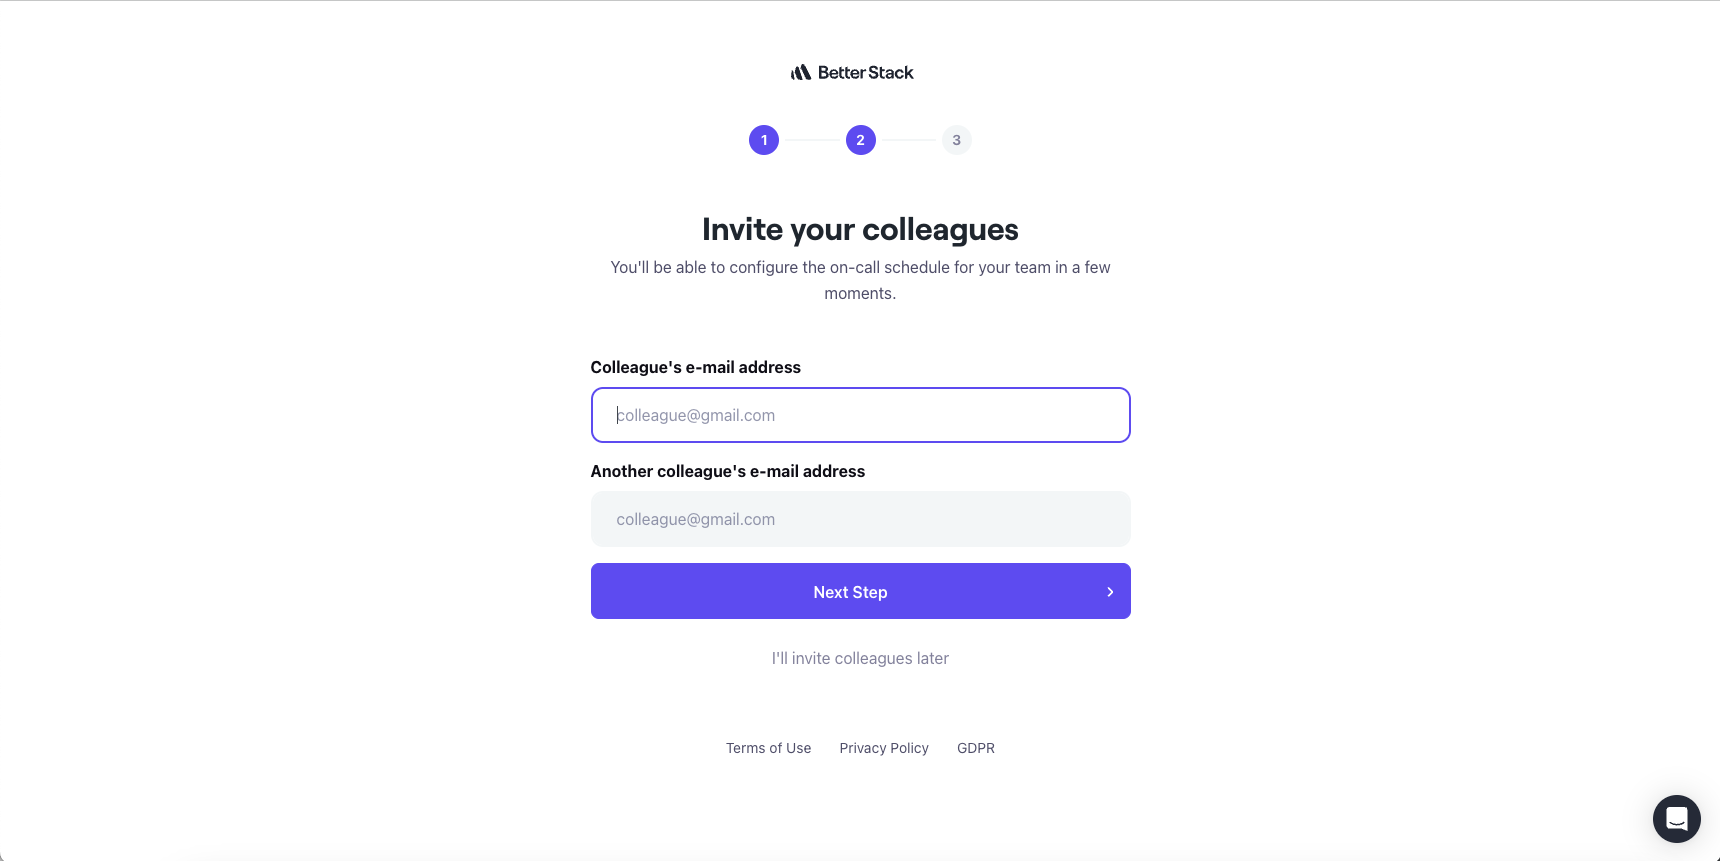
Invite team members to your account. I think this will upgrade your account to a paid plan, so I just avoided it (I’m an individual).

Instead of filling out my credit card information, click “I want o use the free plan for now”. This will complete your setup.
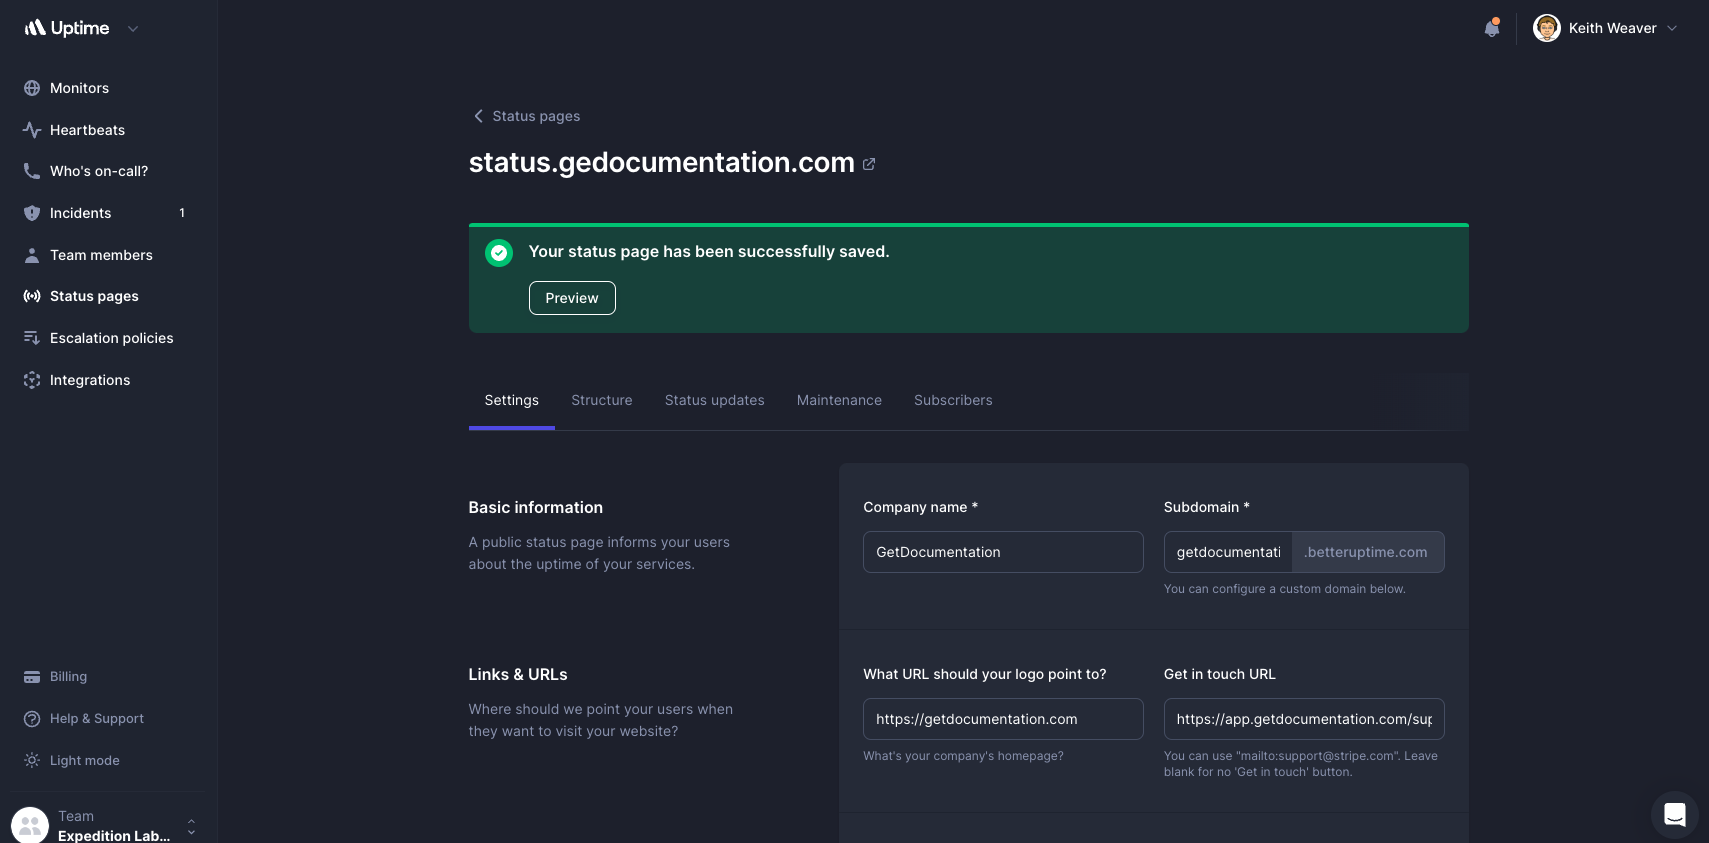
On the left side, navigate to “Status pages”.
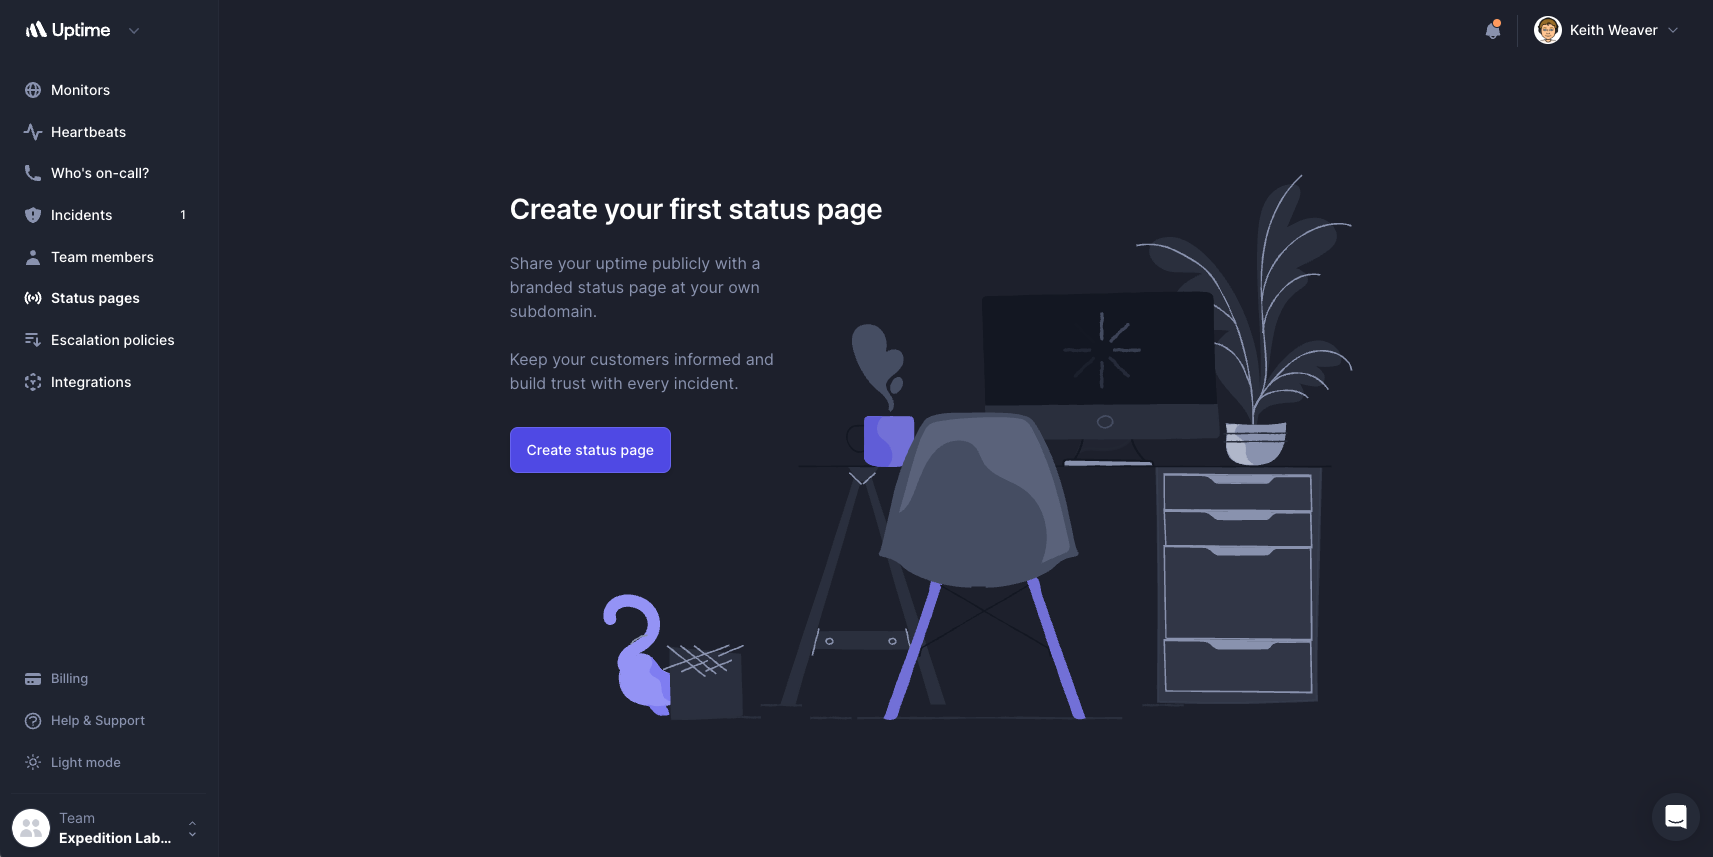
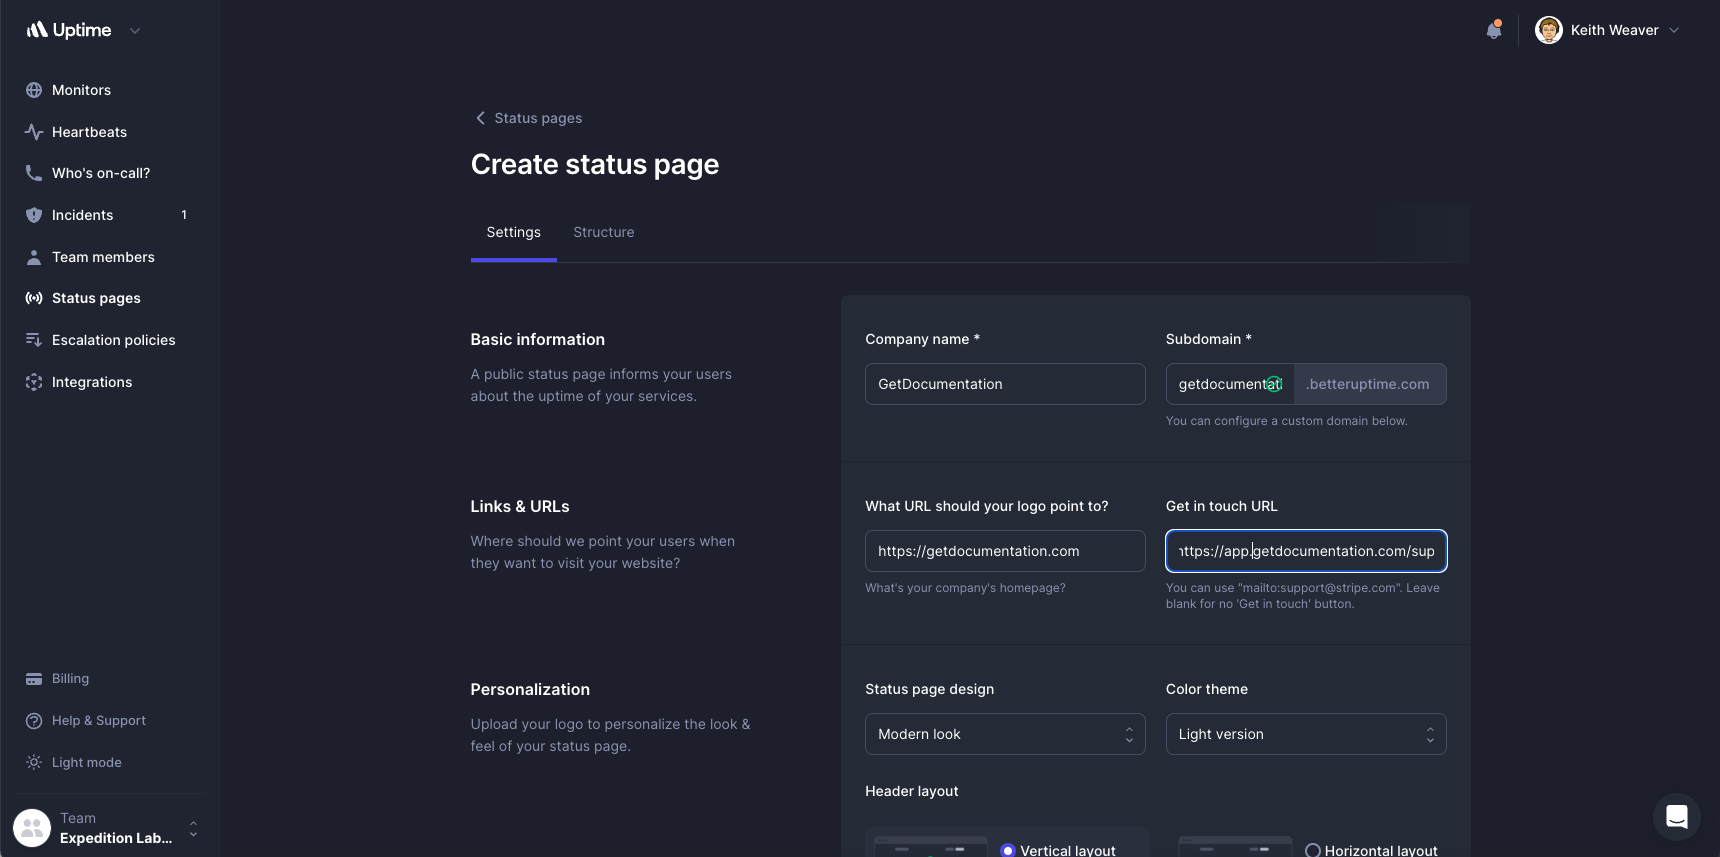
Click on “Create status page”. Fill out all the information for your site.
You can setup a custom domain with your DNS.
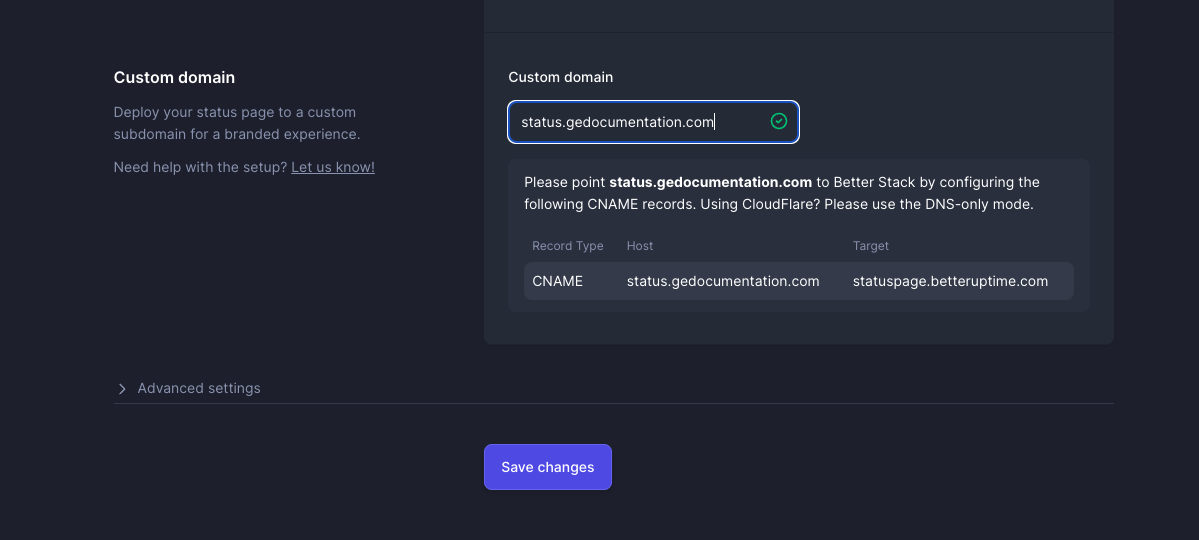
Here is my Namecheap DNS record. Notice that I only provide “status” in the host column.

Once your happy with the details, save the configuration details.
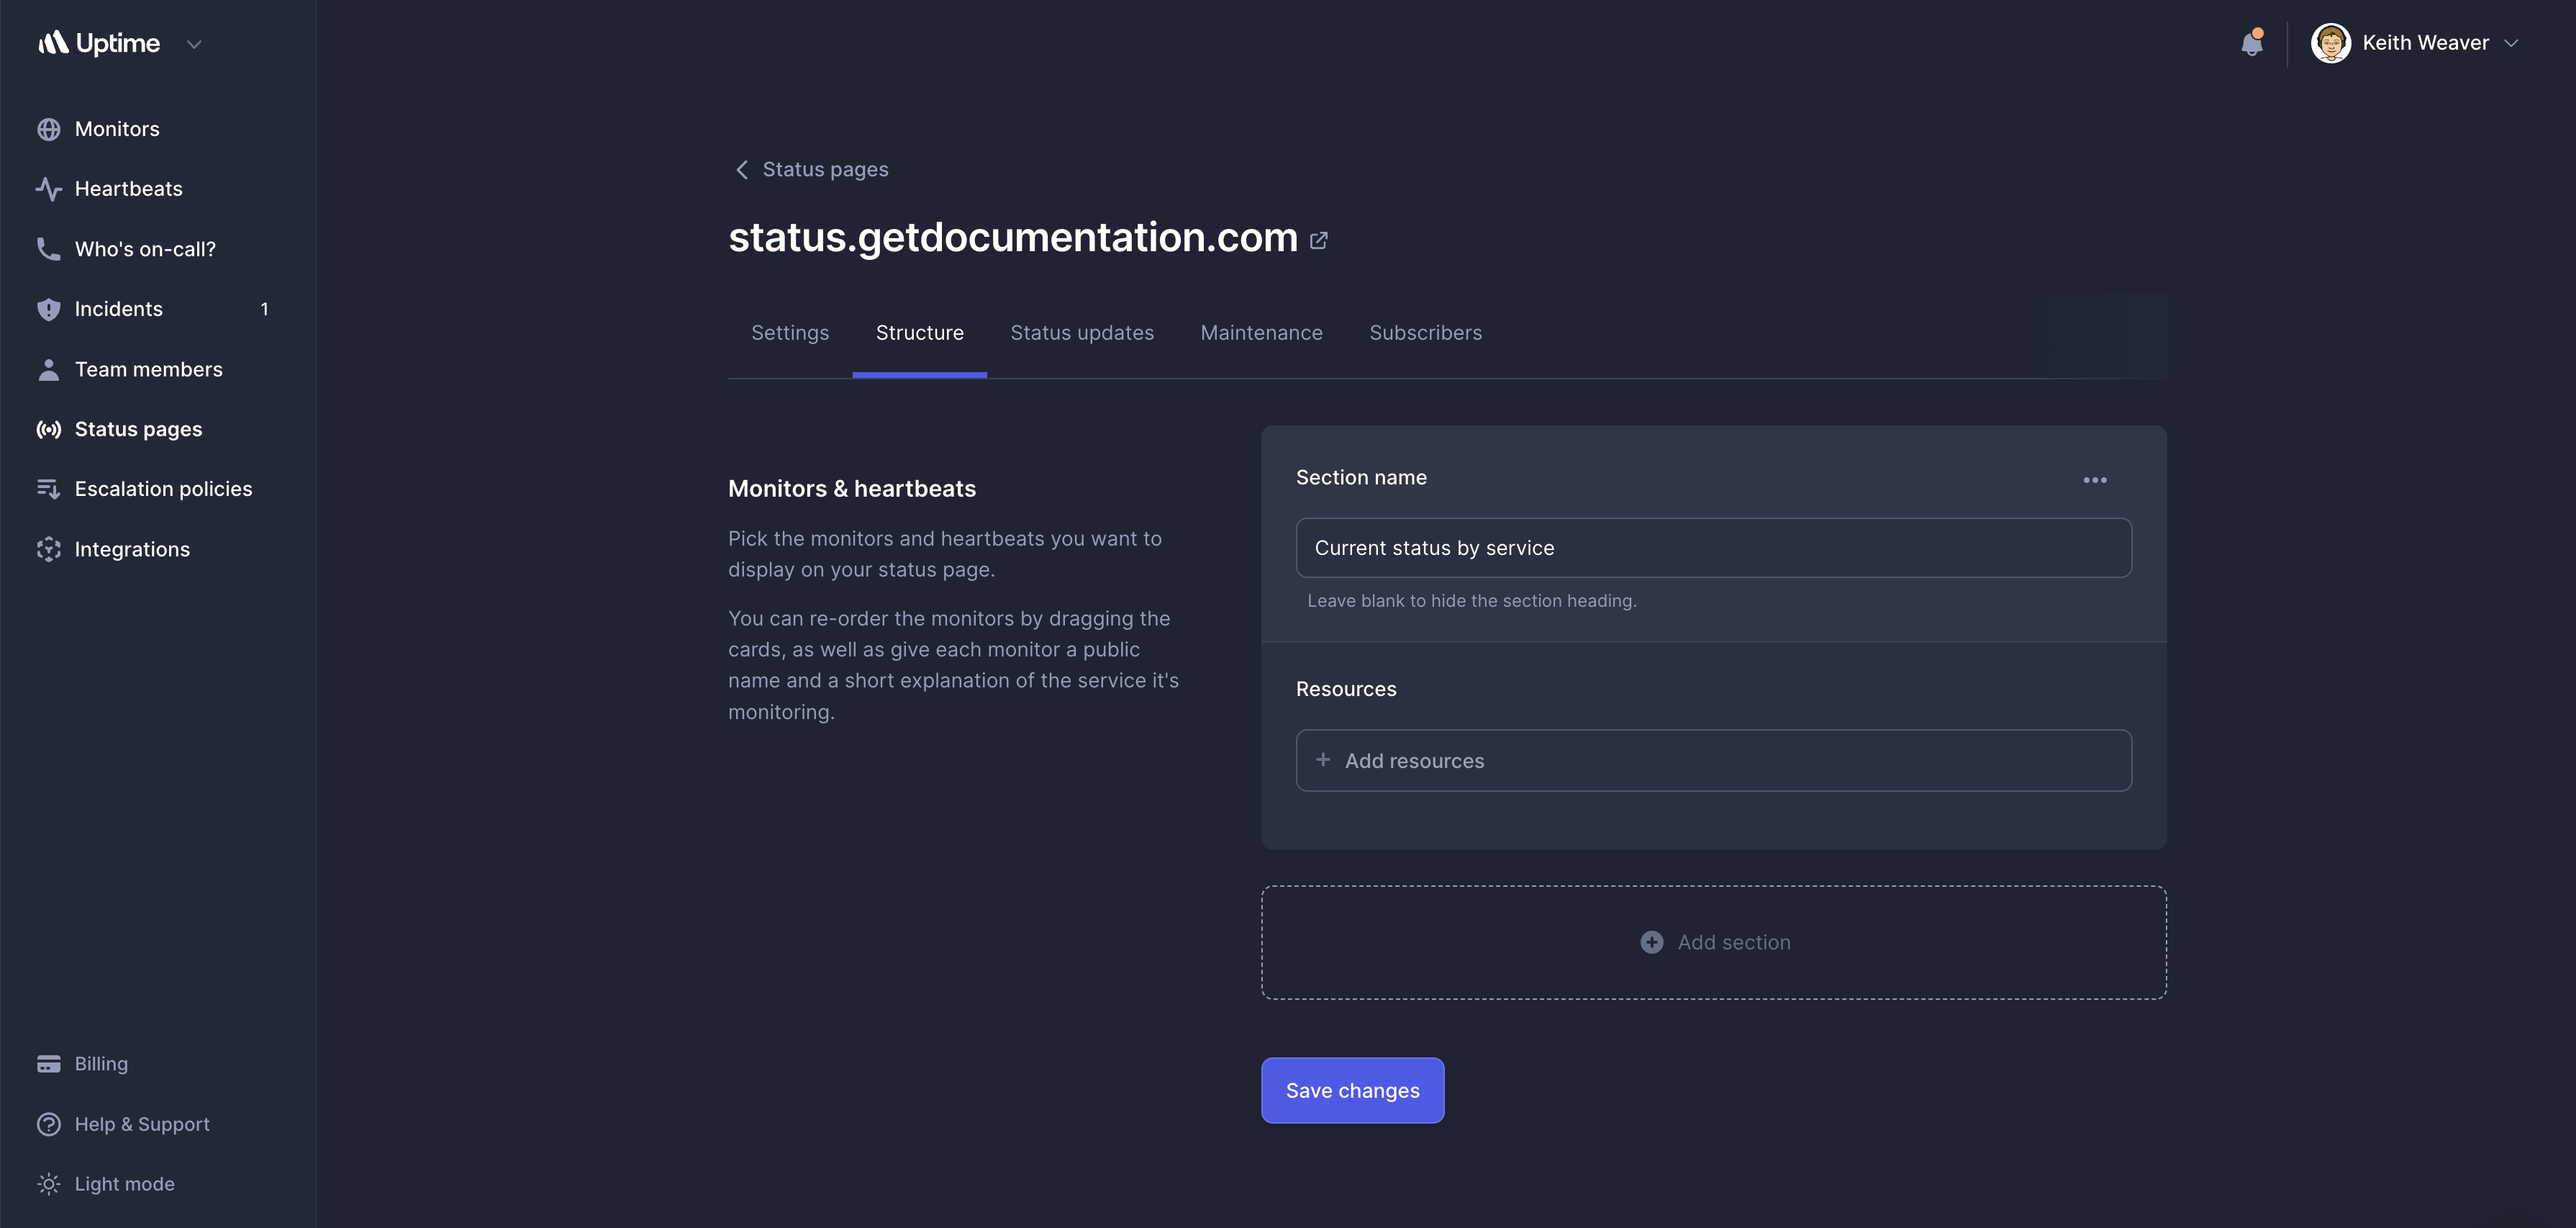
Switch to the “Structure” tab, and we now need to add an item that we are monitoring.

This is the output.
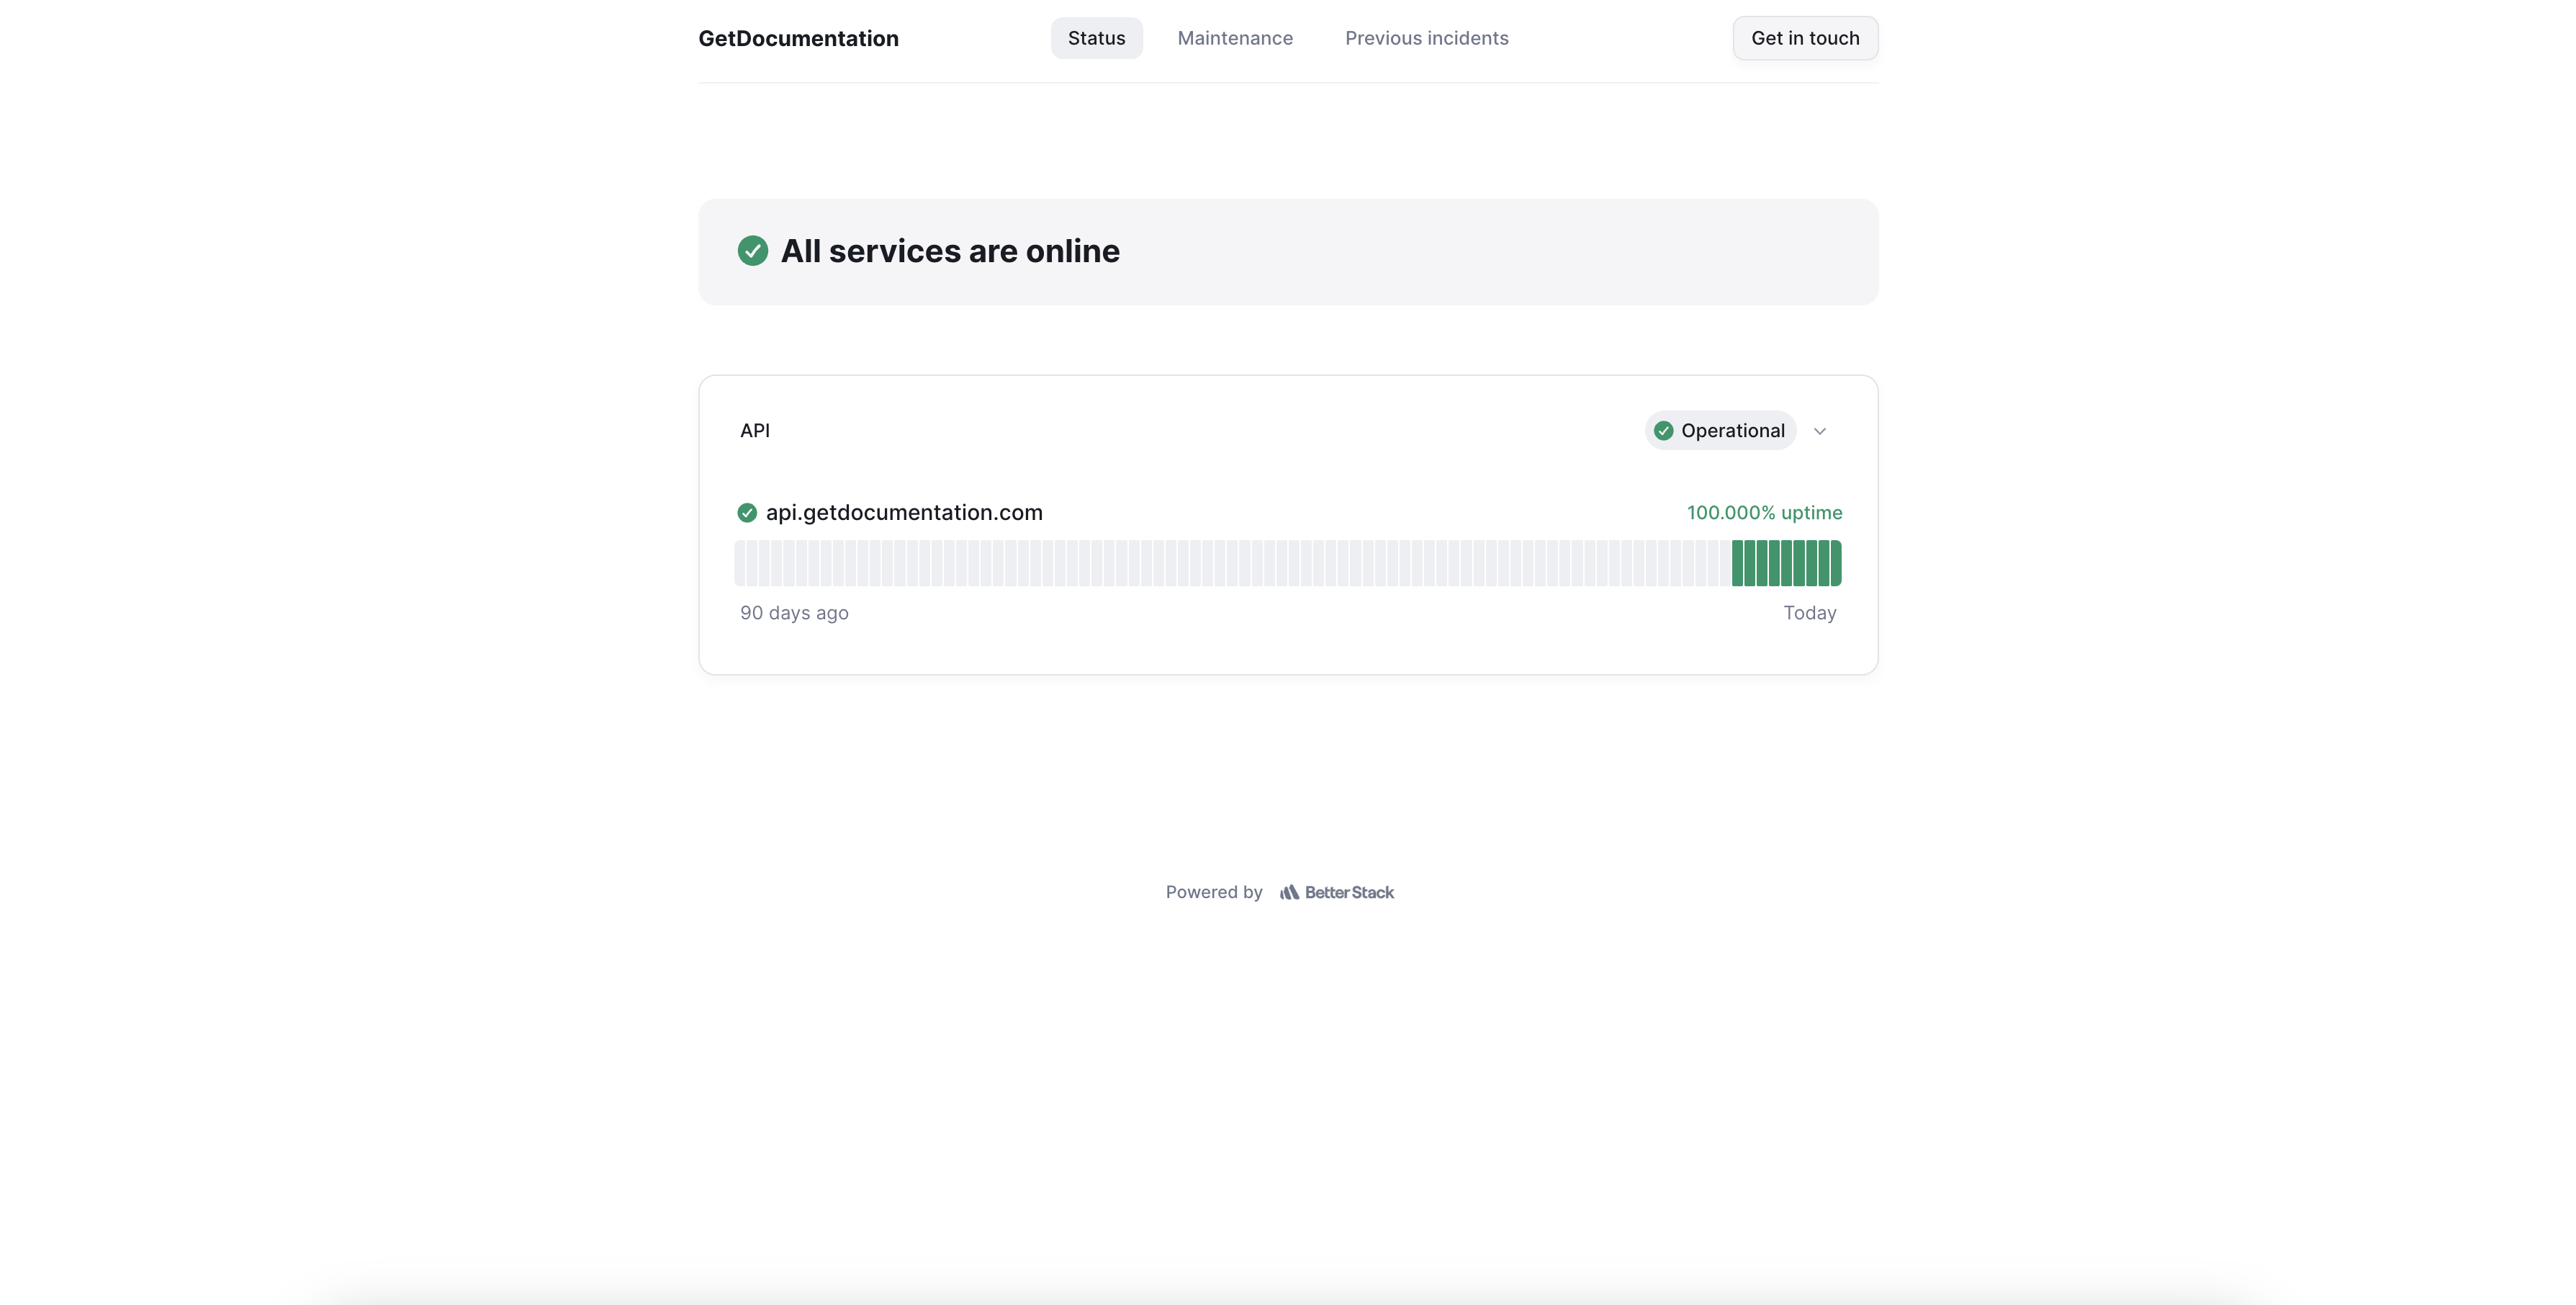
That’s it! You should be setup with your status page.
For this tutorial, we only used Betterstack. Another popular alternative is Atlassian’s product called “Status Page”. I haven’t used it before, and I’m sure it’s similar.