Lessons
Setup Redis on Render
 In this post, we will setup a Redis instance on Render. I’ve used Redis to manage data in-memory across multiple instances. For example, if you are rate limited for outbound requests, you need a central place that has fast reads and writes to keep a count - that’s where Redis comes in. A basic in-memory database should require a heavy setup and that’s why I use Render.
We are going to show you two ways to do this. The first method is a Managed Redis instance by Render. The second method is using Docker.
Managed Redis (Recommended)
We will setup a Managed Redis instance. Sign into your Redis account. In the top right corner, hit “New” > “Redis”. Set a name. Choose a region (It must be the same region as your other services if you want to connect through internal domains). Select your size. Hit “Create Redis”.
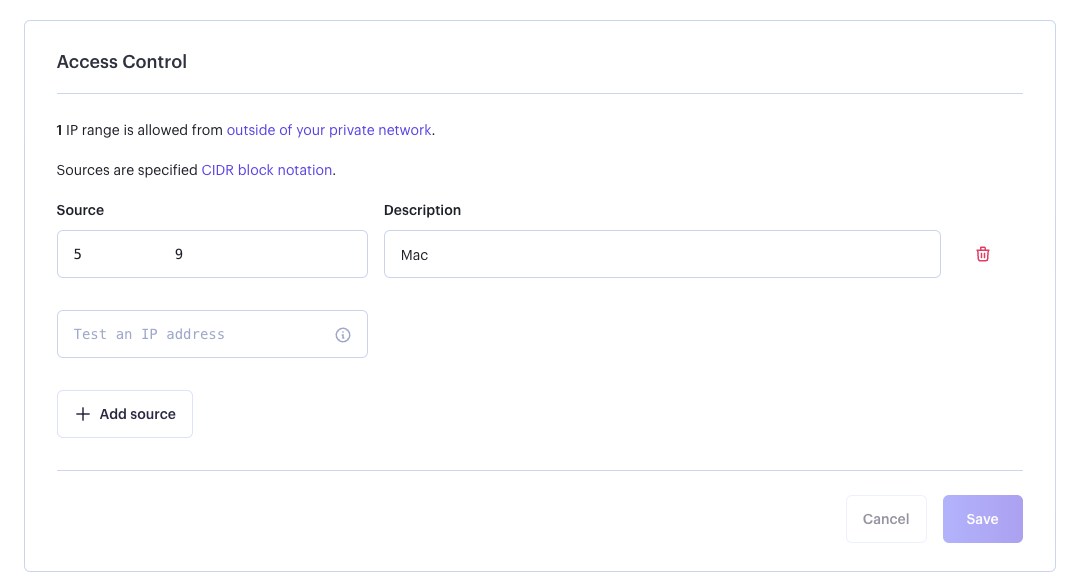
Render will spin up your new instance! It’s gotten so simple. By default, you only get an internal Redis URL. If you want to connect to your Redis instance from the public internet, you will need to add a new IP under “Access Control”. Just Google, “what’s my ip” and it will be returned to you.
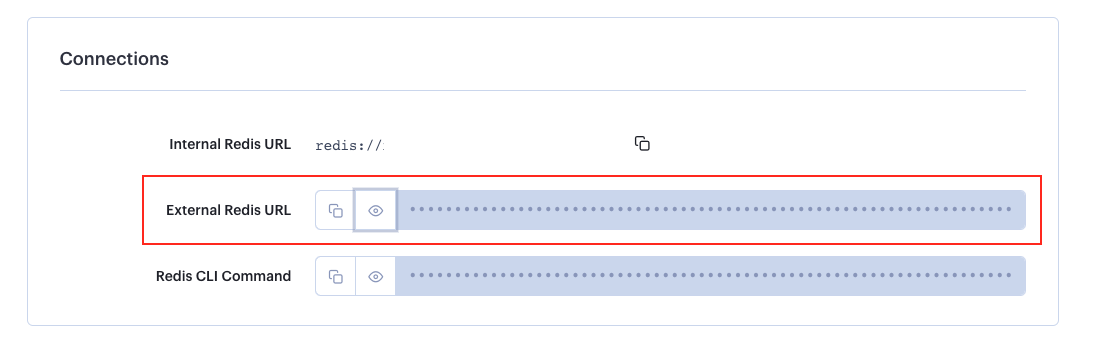
I use “Redis Insight V2” to provide a GUI interface to my Redis instance. Navigate to “External Redis URL” and you should see all the required connection details. The URL is structured as follows:
1rediss://username:password@host:port
Make sure you check “Use TLS” since the URL is “rediss” instead of “redis”. “S” for secure (Similar to http vs https).
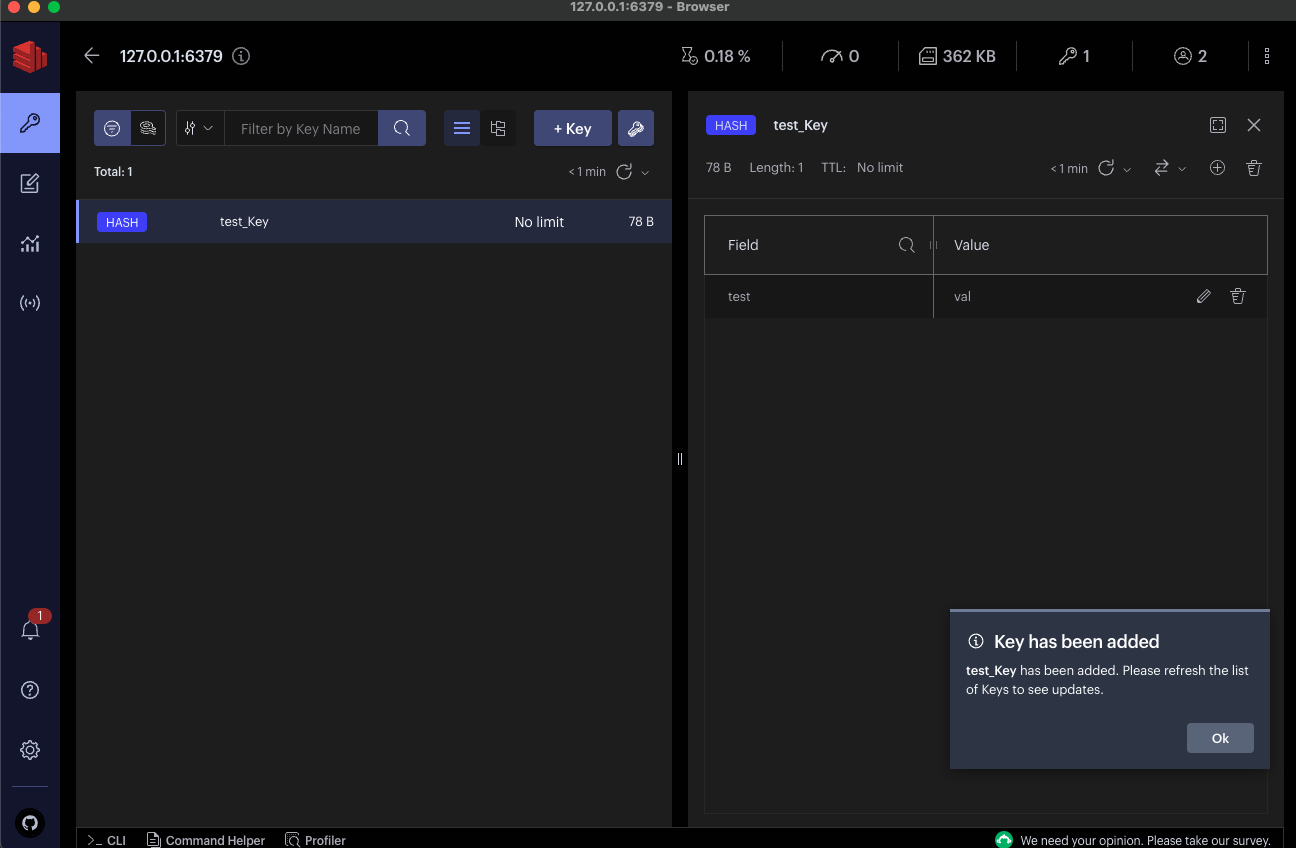
Once connected, I just manually added a key to verify it works.
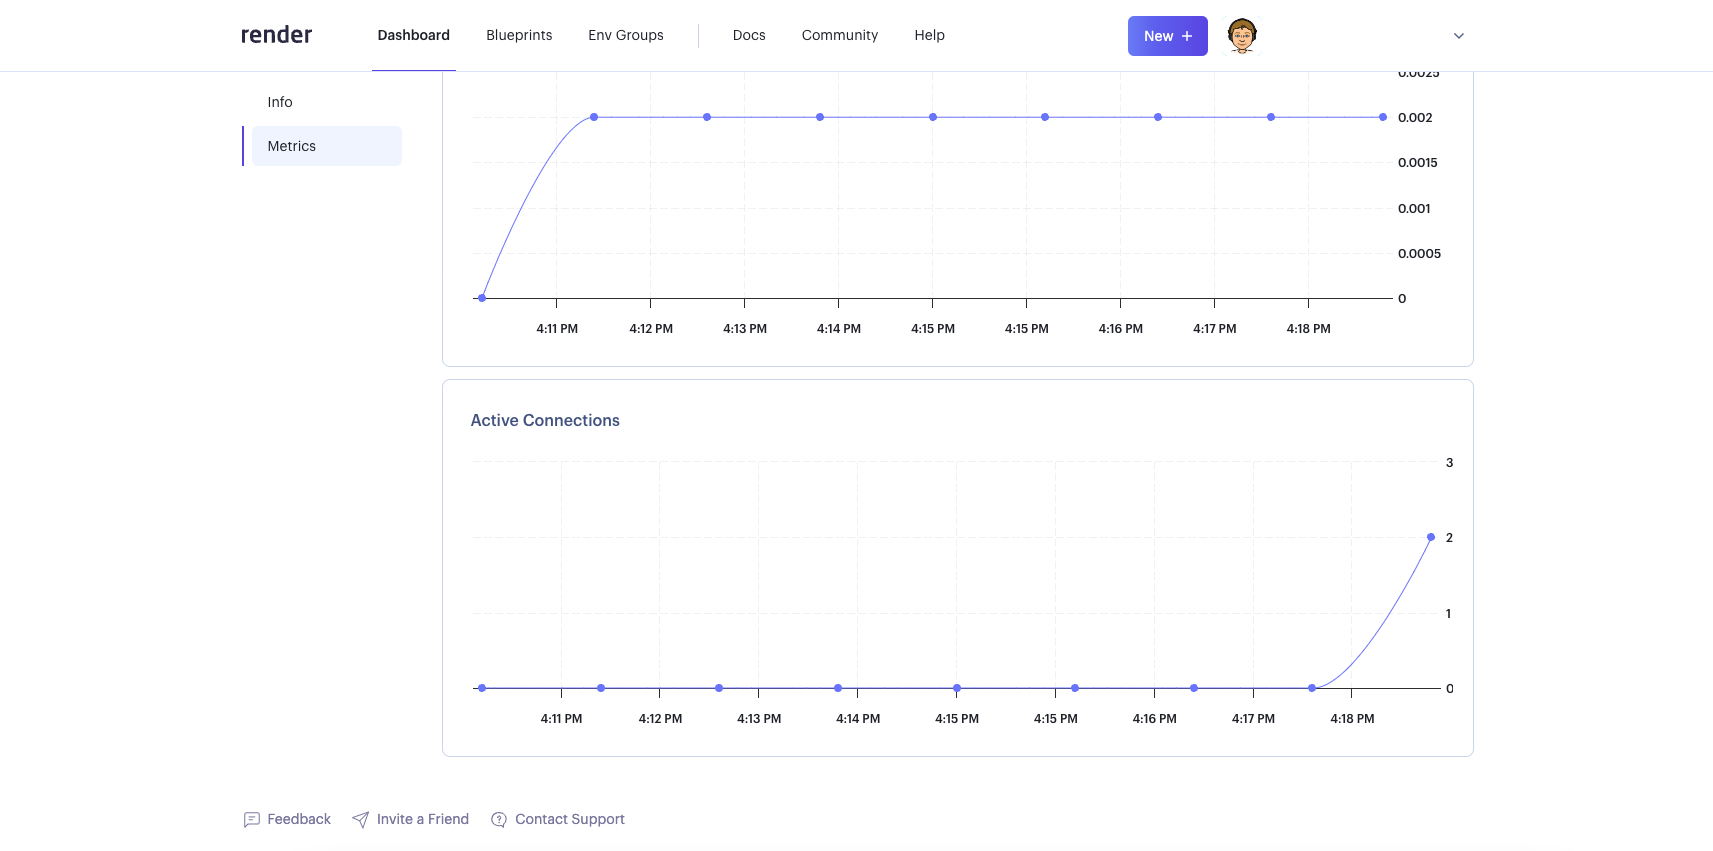
Just to verify it worked on the Render side, you can disconnect and reconnect. Otherwise, just confirm via the “Metrics” tab in the left menu.
Using Docker
Now let’s go through the steps to use Docker instead.
Sign into Github, and create a new repo. I recommend putting “-redis” as the suffix on the repo name. I also made my repository private, and hit create. With your new repository, clone the repository.
1 2git clone git@github.com:keithweaver/sample-redis.git cd sample-redis
We are going to copy from this example. We will be deploying a Docker container, and attach a volume to the instance. Add a Dockerfile with the following contents:
1 2 3FROM redis:6-alpine COPY redis.conf . ENTRYPOINT ["redis-server", "./redis.conf"]
Create a file called redis.conf. You can find the contents here (Everything is commented out by default.
Commit your new files into the remote repository.
1 2 3git add --all git commit -m "Added docker file & redis conf" git push
You should see your two files in the repository.
Let’s now setup our Render instance. You will need to sign up or sign into your Render account. In the top right corner, hit “New” > “Private Service”. Select the repository from above.
Enter a name and select a region (Same as above). Before hitting create, under advance, add Disk. This will prompt you with:
- Name:
redis - Mount Path:
/var/lib/redis - Size:
1 gb(Use your best judgement on size)
Hit Create Private Service. Your new Docker should deploy. That’s it!
You can connect using the internal private service domain.
How do I connect to it with other cloud providers?
My first recommendation would be just used the managed instance. You can always setup a web service instead of a private service. You need to configure the Redis (redis.conf) to have a username and password.
This way the Redis will accessible through the public internet with a username and password.
Potential Errors
If you see the following error:
1error: failed to solve: failed to compute cache key: failed to calculate checksum of ref 4rmyv5w2xw3rjlcy4sxsf4lfw::rr0rg5bcha0q13s02dcgj6zhm: "/redis.conf": not found
Then you may have forgot to create redis.conf in the repository.
Conclusion
You should be setup with Redis! Happy building.